

273.5 k
Downloads
800
Reviews
1.5.3
Version

Custom Resolution Utility: Free Download & Setup Guide for PC
Custom Resolution Utility (CRU) is a powerful tool that puts you in complete control of your display settings. It lets you create custom screen resolutions, tweak refresh rates, and fix screen positioning issues that standard settings often can’t resolve.
This tool works by changing the screen setting data, letting users easily access the hidden options on monitors and graphics cards that support it. It is a popular tool for people who want clearer pictures, better screen fit, or to use more than one monitor in a special way.
In this article, we will learn how to set up the Custom Resolution Utility and also discuss how to use its features and safely change your screen settings. We will also show you how to fix screen position, solve common problems, and share tips to help you get the best results.
What is Custom Resolution Utility (CRU)?
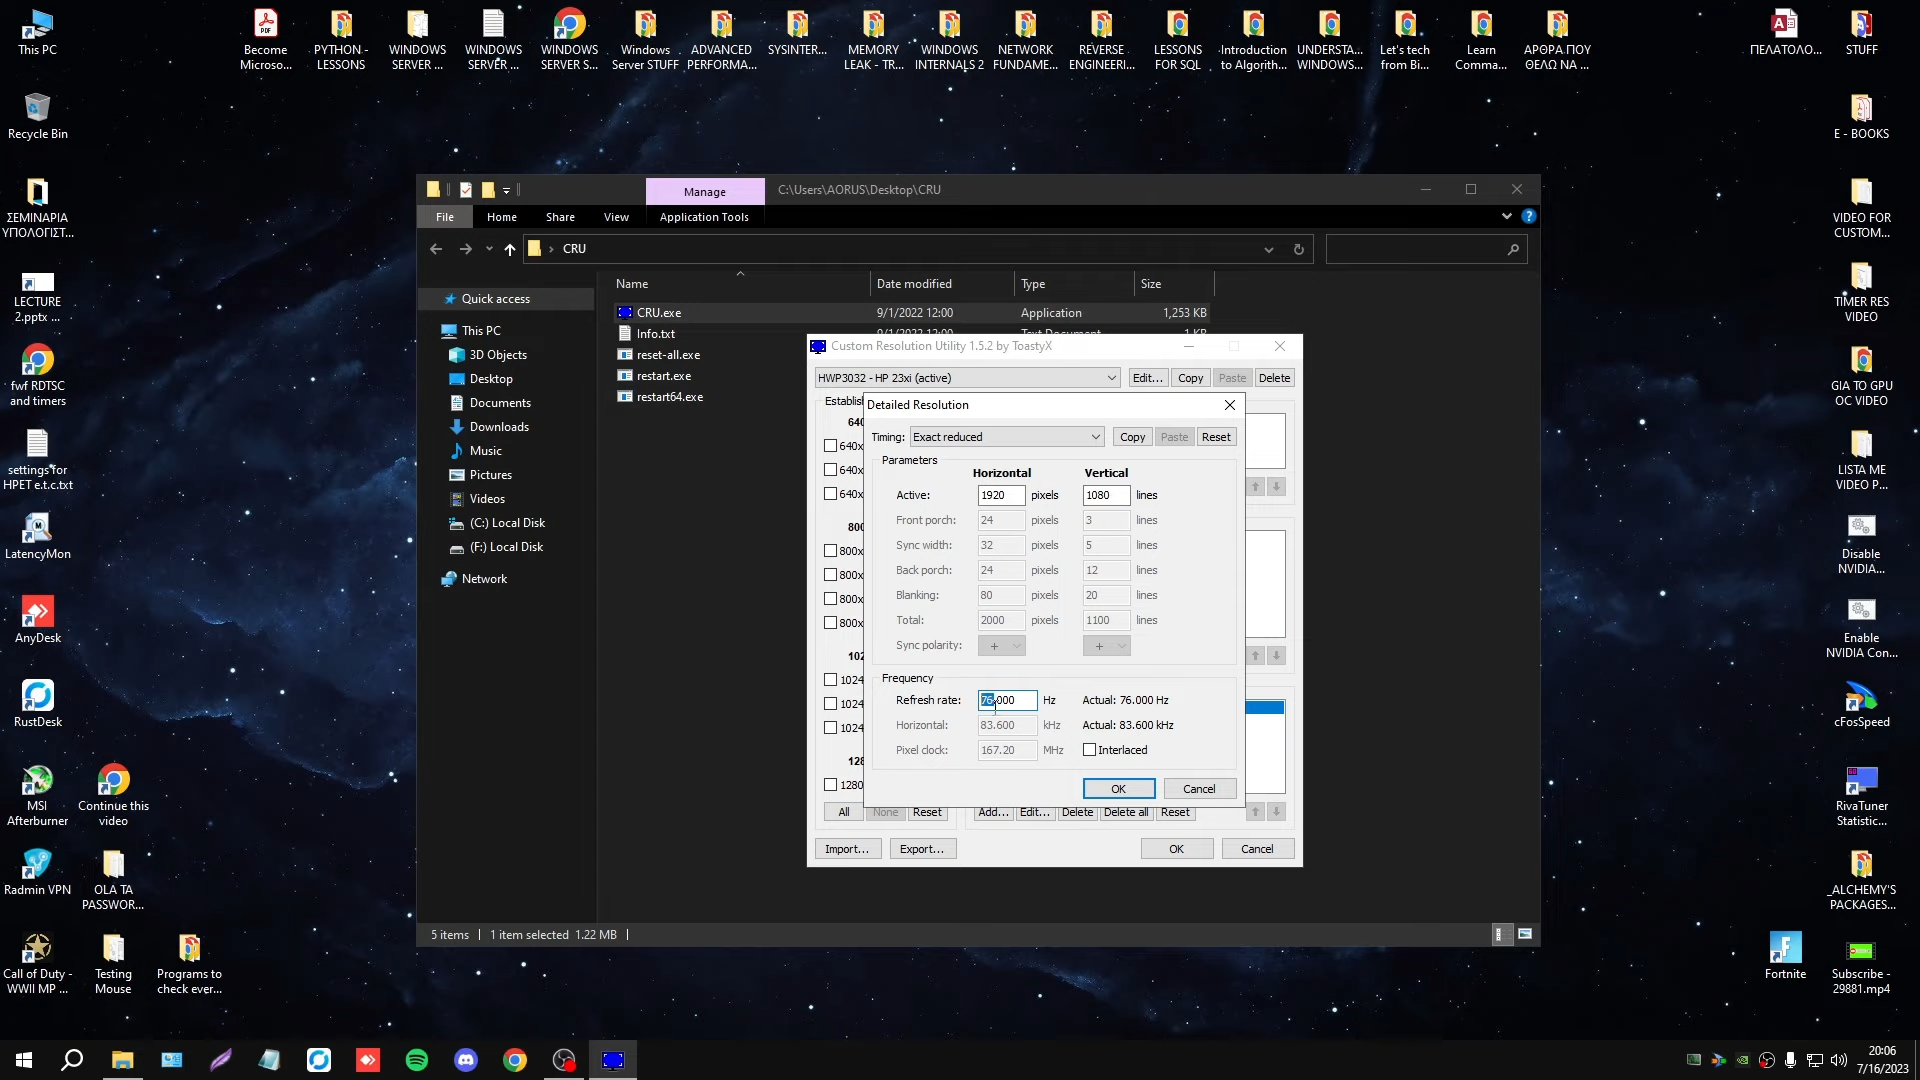
The Custom Resolution Utility, which is also called CRU, is a small Windows tool that lets you set custom screen resolutions that your graphics card or monitor does not normally allow. Instead of using the usual display settings, CRU changes something called EDID, which helps your computer know what display setting to use.
If you’re facing screen issues or want a custom setup, this tool can help whether you are trying to use a special resolution, fix parts of the screen that are too big or too small, or make your games and videos run smoother and it does the job. CRU works with most AMD and NVIDIA GPUs and works without installing drivers or third party software layers.
Why Use Custom Resolution Utility?
This tool offers you more control than default display settings. Whether you want better graphics for gaming, to set a certain refresh rate, or to adjust how your screen looks, Custom Resolution Utility lets you do it all easily, and it is done without changing any hardware on your computer.
Most of the users need CRU to remove Black Bars on wide screens, make their monitor work better, or set up display options that the system usually won’t allow. With CRU, you are not stuck with what Windows or your graphics card says. You can change your screen settings to fit exactly what you want.
Downloading Custom Resolution Utility on PC
You can quickly download the newest version of Custom Resolution Utility for free from our website. Just follow the easy steps below to get the tool on your PC and start changing your screen settings.
Downloading Method from Our Site
- Visit the Custom Resolution Utility download page on our site.
- Click the prominent Download Now button to get the CRU ZIP file.
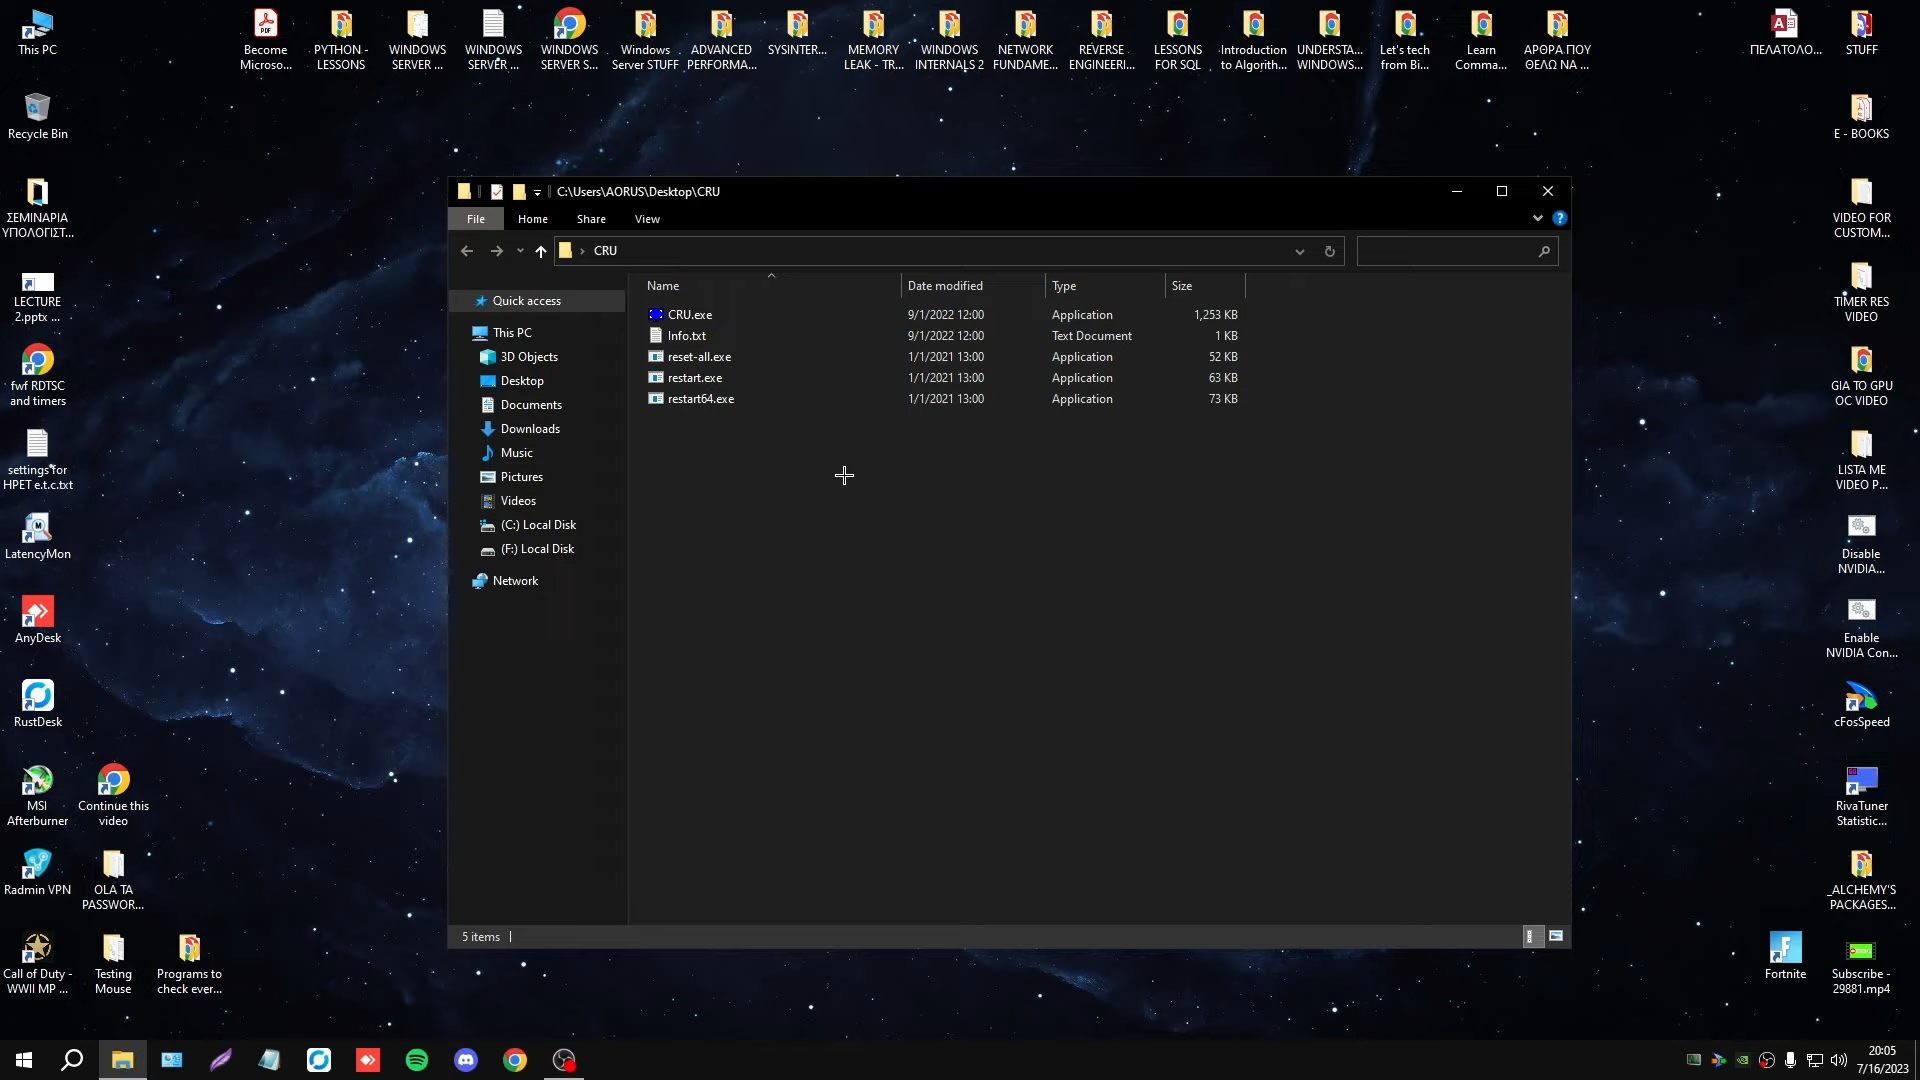
- Once downloaded, extract the ZIP file to a preferred folder on your PC.
- Open the extracted folder to access the CRU executable and related files.
System Requirements and Compatibility
Requirement | Details |
|---|---|
Operating System | Windows 7, 8, 8.1, 10, and 11 (64-bit preferred) |
GPU Support | Compatible with most AMD, NVIDIA, and Intel graphics cards |
Disk Space | Less than 1 MB |
Additional Requirements | No special drivers needed; administrator rights required for installation |
Installation Steps and Initial Setup
- Extract the downloaded ZIP archive to any folder.
- Right-click on Custom Resolution Utility.exe and select Run as administrator.
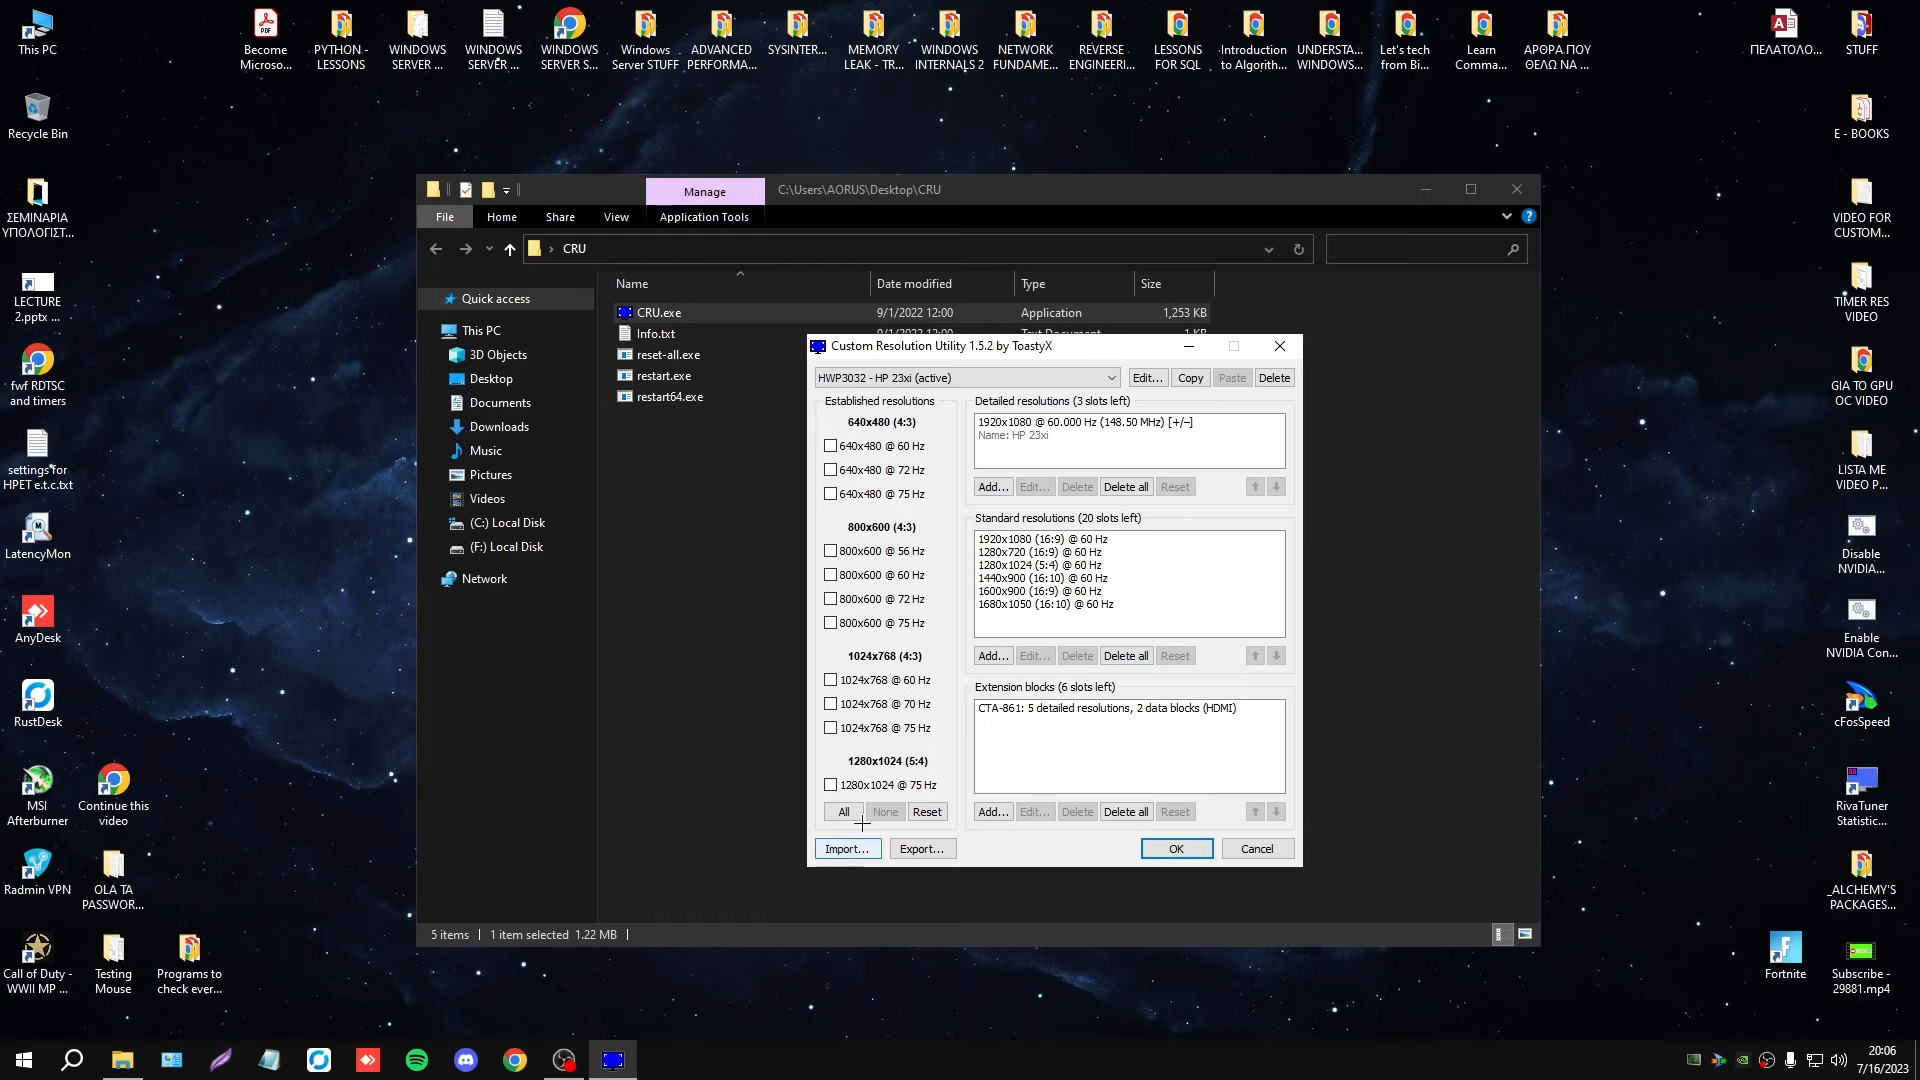
- When CRU opens, you’ll see a list of your current display settings.
- Before making changes, it’s recommended to create a backup of your current EDID by clicking Export.
- After that, you can begin adding or editing custom resolutions as needed.
- Once finished, close CRU and restart your graphics driver to apply the new settings. (Use the included restart.exe file or reboot your PC.)
Advanced Features of CRU
Custom Resolution Utility is more than a simple resolution changer. It gives you powerful tools to adjust your screen beyond the usual settings, letting you take full control of advanced display options.
Editing FreeSync and Variable Refresh Rate Ranges
With the help of this tool you can change the FreeSync or adaptive sync setting on compatible monitors. This means you can make the range where the screen refresh rate changes wider or smaller, helping games and videos look smoother and reducing screen tearing.
Managing Standard and Detailed Resolutions
This powerful tool can help you to add or remove both basic and detailed screen resolution. This lets you create exact resolutions or refresh rates that you usually cannot get through your graphics driver or Windows settings.
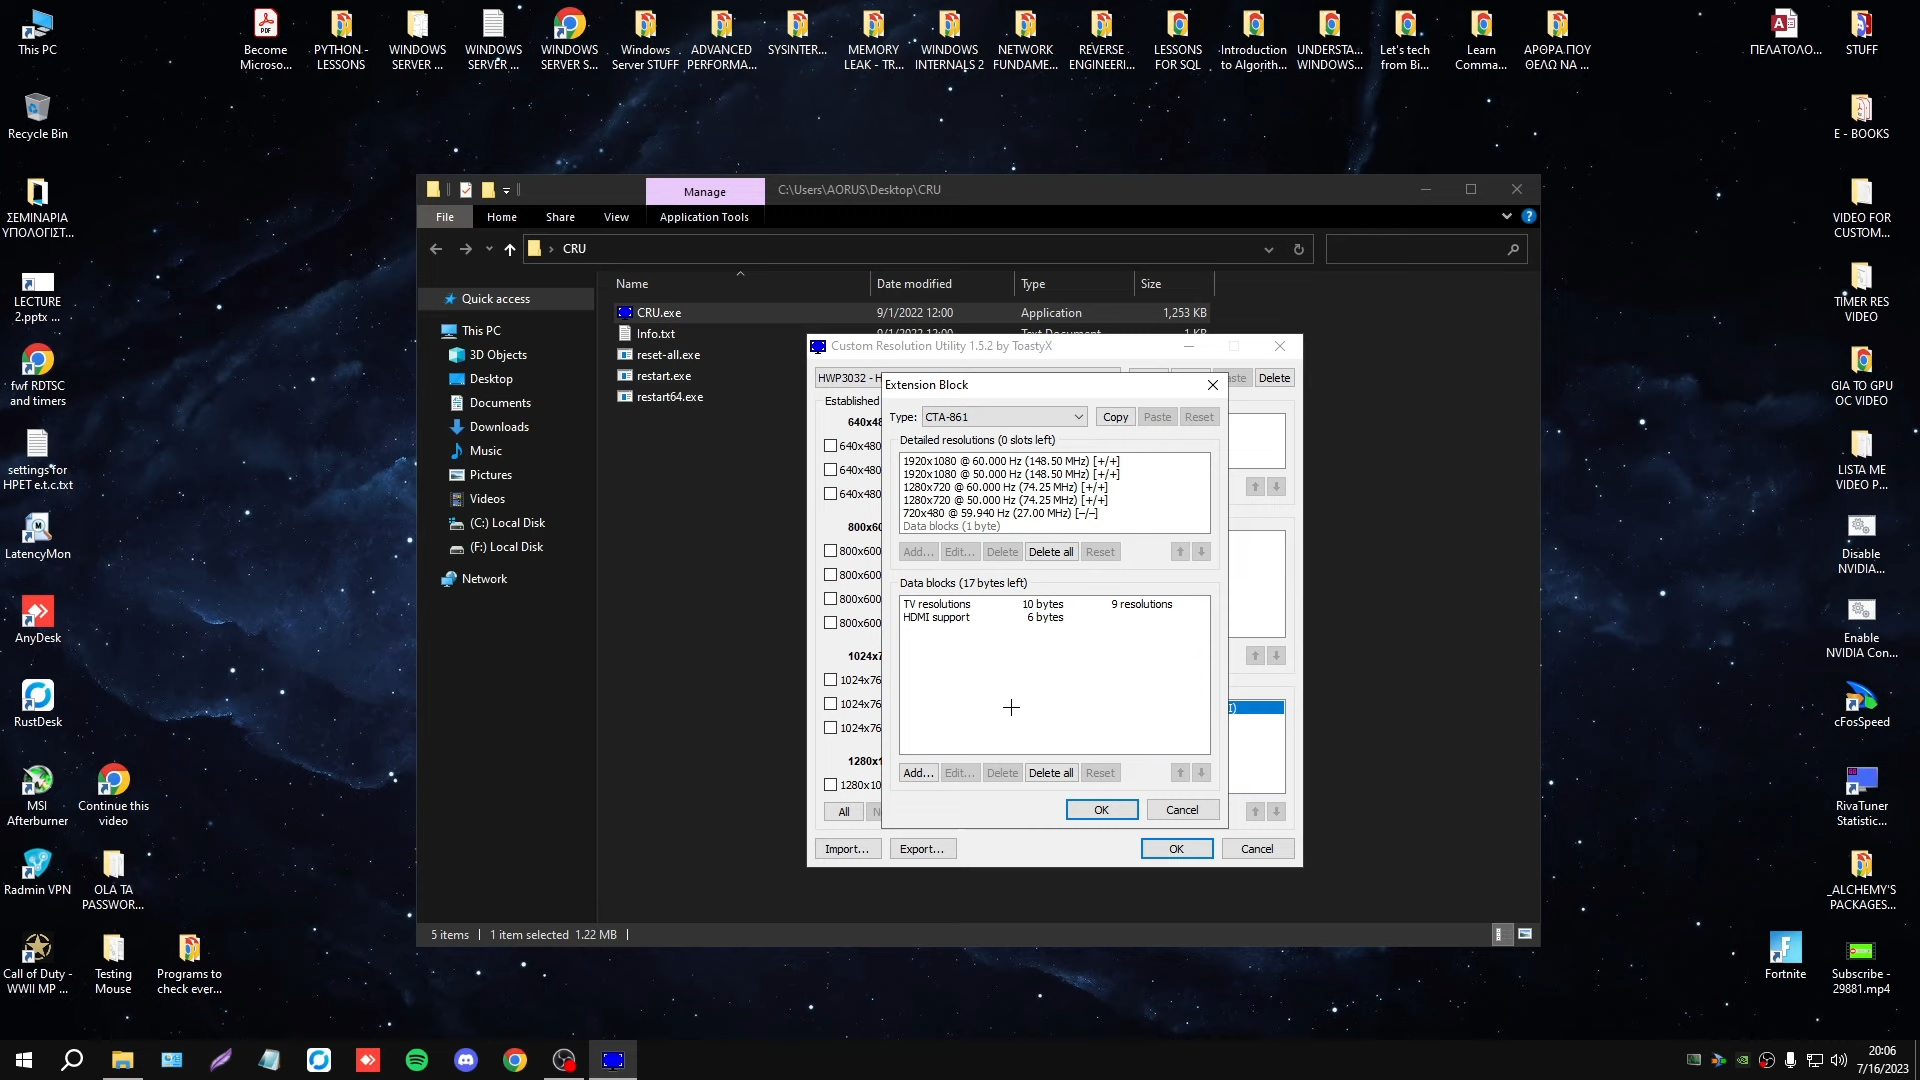
Using Extension Blocks for Extra Settings
If we talk about Extension blocks, they can allow you to add extra information to their monitor’s EDID. This can include things like HDR settings, sound features, or detailed timing options. These help fine-tune the monitor or unlock extra features on some screens.
How to Use Custom Resolution Utility?
Using the Custom Resolution Utility is simple. Just follow a few steps to add, change, or remove screen resolution and options. Once you learn how to use this amazing tool and make better adjustments, you can easily unlock its power and enjoy the best display experience.
Is Custom Resolution Utility Safe to Use?
There is no risk while using Custom Resolution Utility if you use it the right way by following the instructions. It does not install drivers or modify system files directly; its work is only to change EDID data that your monitor uses to communicate with your graphics card.
All over the world, millions of users, like gamers and other professionals, have used CRU without facing any problems. But it is always important for you to make backups before making changes; this way, you cannot face any problems.
System Tools:
ParkControl
CPU Parking
Process Lasso
CPU Optimization
Wise Memory
RAM Optimizer
SuperF4
Process Termination Tool
ExplorerPatcher
Windows Customization Tool
See More
Gaming & Media:
Razer Cortex
Game Booster
EasyBCD
Boot Management
HidHide
Controller Hiding
XOutput
Controller Emulator
DS4Windows
PlayStation Controller
See More
Internet & Network:
Neat Download Manager
Download Accelerator
Proton VPN
Secure Browsing
Psiphon VPN for PC
Secure Browsing
Iriun Webcam
Turn phone into webcam
Messenger for PC
Text messaging
See More
Productivity & Recovery:
AOMEI Backupper
Backup & Recovery
PowerToys
Productivity Tool
Cura Software
3D printer slicing software
Power BI Desktop
Data visualization
4Download Fl Studio
Music production software
See More